The Blazer Edit

Tailoring that makes every look sharper

The Blazer Fit Exam: Five Checkpoints Before You Buy

2026-07-15

You’re in the fitting room. The blazer looks… fine? Maybe? You turn sideways. You turn back. You have no idea what you’re actually looking at, so you buy it, and it hangs in your closet for two years being vaguely wrong.

There are five checkpoints. Two of them can’t be fixed by any tailor alive. Ninety seconds and you’ll have a verdict.

Quick Answer: Check the shoulder first — the seam must end at your shoulder point, because that’s the one alteration tailors refuse. Then: fastened button with no X-shaped pull and one fist of room inside, no gap between collar and neck, sleeves ending at your wrist bone, and a hem length that’s clearly intentional. Shoulders and collar are essentially unfixable. Sleeves, hem, and waist are cheap, easy tailoring wins.

The Blazer Fit Exam: Five Checkpoints Before You Buy

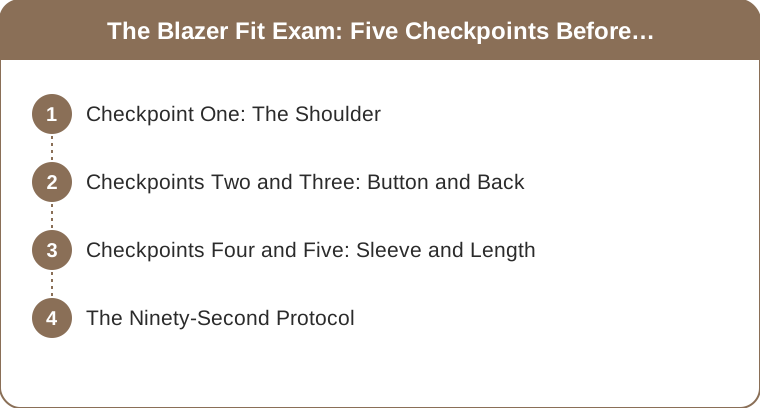
At a glance

Checkpoint One: Does the Shoulder Fit?

This is the whole exam, honestly. Get it wrong and the other four don’t matter.

The seam where the sleeve meets the body should end at your shoulder point — the spot where the flat top of your shoulder starts curving down into your arm. Two failure modes:

  • Overhang. The seam sits out past your shoulder, and there’s a little divot or dent below it where the fabric has nothing to rest on. Reads as borrowed from someone larger.
  • Pinch. The seam sits inside your shoulder point, digging in, and you can see strain across the upper back. Reads as outgrown.

Why this one is final: reconstructing a jacket’s shoulder means detaching the sleeve, resizing the armhole, and reattaching it — and the shoulder is where most of a jacket’s internal structure lives (canvas, padding, the roll of the sleevehead). Most tailors will decline it outright, and the ones who won’t will quote you more than the blazer cost.

One important exception: a deliberately oversized or drop-shoulder blazer moves that seam by design, evenly, on both sides, as part of the cut. That’s a style, not a fit failure. The tell is symmetry and intention — a designed drop shoulder sits cleanly; an accidental mis-fit droops on one axis and looks confused.

Wrong shoulder? Back on the rack. Exam over, ten seconds spent.

Checkpoints Two and Three: The Button and the Back

Checkpoint two — the button stance. Fasten the top button (or the only button) and look at the closure in the mirror.

  • No X-pull. If you see diagonal strain lines radiating from the button, the blazer is voting for a size up. That X is the single most visible fit failure in photos.
  • The fist test. You should be able to slide a flat fist between the fastened front and your stomach. Much less and it’s tight; much more and it’s swimming.

The waist can be taken in fairly easily and cheaply, so a blazer that’s slightly loose here is a good candidate. One that’s straining is not — you can’t add fabric that isn’t there.

Checkpoint three — the back and collar. Turn around and have someone look, or use two mirrors.

  • No collar gap. The jacket collar should sit flush against your shirt collar and the back of your neck. A visible gap where the collar stands away from your neck is a mismatch between the jacket’s cut and your posture, and it’s rarely fixable well. Treat this as a near-unfixable alongside the shoulder.
  • No horizontal ripples across the upper back. Those mean the back is too tight or the armholes are wrong.

The Blazer Fit Exam: Five Checkpoints Before You Buy

Checkpoints Four and Five: Sleeves and Length

Good news — these are the tailor’s easiest, cheapest wins, so a blazer that fails only here is still worth buying.

Checkpoint four — sleeve length. The classic line: the sleeve ends at your wrist bone, leaving about a quarter-inch of shirt cuff showing. If the sleeve is grazing your knuckles, that’s a hem fee, not a dealbreaker. Sleeve shortening is standard work.

One caveat worth knowing: if the blazer has working buttonholes on the cuff, shortening gets more complicated and more expensive. Most off-the-rack blazers have decorative buttons and no such problem.

Checkpoint five — body length. Less about a rule, more about intent. A classic-length blazer covers the curve of your seat. A cropped blazer ends deliberately high, at or above the waist. Both are correct. What’s not correct is the ambiguous middle — a hem hovering somewhere around the upper hip that looks like the jacket shrank slightly. If you can’t tell whether it’s meant to be cropped, it’s the wrong length.

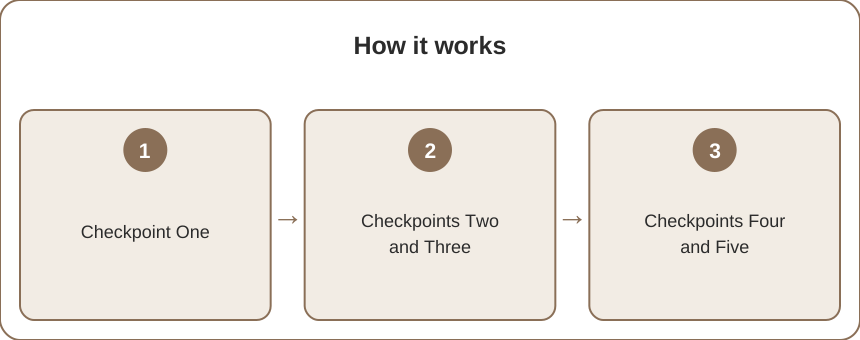
How it works

The Ninety-Second Fitting Room Protocol

In order, because the order saves you time:

  1. Shoulders, in the mirror. Fail here, stop here.
  2. Button and fist. Fasten, check for the X, slide a fist in.
  3. The back twist. Turn, check collar gap and back ripples.
  4. Arms up. Raise both arms in front of you as if reaching for a shelf. Some restriction is normal in a structured jacket; being pinned is not. A blazer you can’t move in fails at the only job it has.
  5. Sit down once. Sit in the fitting room chair with the jacket buttoned. Anything that strains sitting will strain all evening.
  6. Take a photo. Front and side. Mirrors lie about proportion in ways cameras don’t, and you’ll see a bad shoulder immediately in a photo that you talked yourself out of noticing live.

Five checkpoints, two unfixables, one confident verdict. The exam never needs longer than this.

Myth vs Fact

Myth: A good tailor can fix any blazer. Fact: A tailor can shorten sleeves, hem the body, take in the waist, and slim the sides — all straightforward. Shoulders and collar fit are a different category, involving the jacket’s internal structure, and most tailors will simply decline. Buy for the shoulders; tailor the rest.

Myth: If it’s tight, size up and get it taken in. Fact: Taking in works; letting out mostly doesn’t. Seam allowances are limited, and a blazer straining at the button has no hidden fabric to release. When between sizes, the larger one is the one that can be altered.

Myth: The sleeves should cover your wrists. Fact: The wrist bone is the target, with a sliver of shirt cuff showing. Sleeves that reach your knuckles are the most common off-the-rack problem and one of the cheapest to fix.

Myth: An oversized blazer means the shoulders don’t matter. Fact: They matter differently. An intentional drop shoulder is even, symmetrical, and clean. An accidental mis-fit droops unevenly. Even oversized cuts have a right and wrong shoulder position — it’s just further out.

Myth: You can judge fit standing still in a mirror. Fact: Arms up and sitting down reveal problems that a static mirror pose completely hides. Thirty extra seconds, far fewer regrets.

FAQ

How much room should you have when a blazer is buttoned?

About one flat fist between the closed front and your body. Less than that and you’ll see diagonal strain lines from the button; significantly more and the blazer looks borrowed. This is also the checkpoint most easily corrected — waist suppression is routine, inexpensive tailoring.

Should you always button a blazer to check the fit?

Yes, for the fit check — the button is where strain shows up. In actual wear, the convention for a two-button jacket is to fasten the top button when standing and unbutton when sitting, and a one-button jacket follows the same logic.

What blazer alterations are worth paying for?

Sleeve shortening, hemming the body, and taking in the waist or sides are all common, relatively affordable, and can transform an off-the-rack blazer. Shoulder reconstruction and collar adjustment usually aren’t worth it — the cost approaches or exceeds buying a better-fitting jacket.

TL;DR:

  • Shoulders first and final. The seam ends at your shoulder point. Tailors won’t fix this — walk away.
  • Button test: no X-shaped strain lines, one flat fist of room inside.
  • Back check: no gap between jacket collar and your neck, no horizontal ripples. Collar gap is a near-unfixable.
  • Sleeves at the wrist bone with a quarter-inch of shirt cuff. Easy, cheap alteration.
  • Length should look intentional — clearly classic or clearly cropped, never ambiguously between.
  • Always do the arms-up test and sit down once. Then take a photo; mirrors lie about proportion.
  • Between sizes, buy the larger one. Taking in works; letting out doesn’t.

Keep Reading

This article is for general styling and informational purposes only. Trends, sizing, availability and pricing may vary by brand and season.

blazer fithow a blazer should fittailoring checkpoints

← All articles